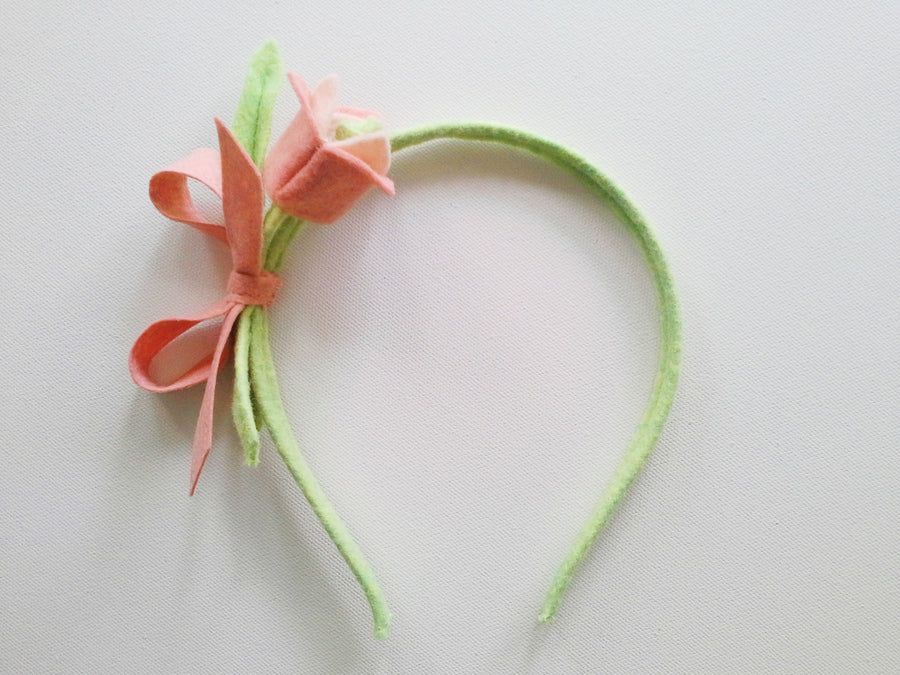
As the school year comes to a close, my fingers are just itching to begin a summer craft project! I've been dreaming about these headbands for quite some time. This tutorial is meant to be a jumping off point for your creativity, as there are so many variations on this theme which would be charming.

Sweet and Simple Tulip Headband
My directions here are for making it with a sewing machine, but it can also be done completely by hand. It is easy enough that young sewers might get involved as well, with adult supervision during the cutting and sewing of course. I think they would make really cute party favors at a summer tea party!

Only a few supplies needed
The headband base is a blank metal headband. I use a 3mm size here. I purchased these pictured from the etsy store DIYBeadshop, 5 pieces for $1.99 plus shipping.
You will also need some woolfelt scraps. For a beautiful selection of woolfelt which can be purchased in various quantities, I recommend Prairie Point Junction.
You will need a long but narrow piece of green (similar to 12" by 18" pre-cut), a 5"x5" square of light peach for the inside of the flower, and a 12" by 18" rectangle for the bow and outer tulip petals.
Let's get to work!

Covering the metal headband
Use a measuring tape to measure the length of the headband. Mine is 15". Add another two inches for ease (17" total for me), and cut a piece of green felt to that total length which 1 1/4" wide. I used my rotary cutter and clear plastic ruler, but scissors will work also.
Fold the long strip in half lengthwise and stitch 1/4" from the folded edge. Trim the selvedges close to the stitching.

Trim the excess
Slide the headband into the casing which you have created.

Inserting the headband into the casing
Sew one end closed with the sewing machine or by hand, go over the seam several times so the end cannot poke through the stitches. Sew the other end closed and then trim the excess.
Your headband is covered! Cute already, right?

Felt covered headband
Now it's time to cut the leaf, tulip petals, and stem. Save and print these patterns and cut one of each in the fabrics indicated.
Fold the stem in half lengthwise and stitch 1/4" from the edge, trim away the selvedges. Fold leaf in half lengthwise and sew the spine. If you have trouble with getting the leaf into the sewing machine (when folded, parts are too narrow for the feed dogs), try sewing the spine on a larger piece of folded felt, then place the pattern over it and cut it out.

Making the stem and leaf
To make the tulip, stack the two pieces of felt with the darker one on top. Fold so that the darker color is on the inside, matching each edge to the one next to it, and pin.

Pin the petals in place
Stitch each set of edges together, through all layers.

Petals stitched, ready for turning
Turn the flower right side out. Use blunt scissors or a chopstick to push the corners to the right side. Fold the outer petals down with your fingers until you like the way it looks, the felt can be pulled and shaped easily.

Turn tulip right side out and fold down petals
With pointy scissors or an awl, make a hole at the center of the bottom of the tulip, through both layers. Tie a knot at one end of your stem and push the opposite end through the hole in the bottom of the flower.

Thread knotted stem through tulip
So pretty!

Tulip and leaf
Thread a needle with green thread, and position your tulip and leaf on the headband. Wrap and stitch securely in place. This step can also be done with hot glue, I won't judge.

Fasten tulip and leaf in place
The last piece is the bow. Find your ruler and rotary cutter and cut a piece of pink felt 5/8" wide and about 12" long.

Cut a long narrow ribbon of felt for the bow
Topstitch close to the edge with matching thread. A good trick for a perky bow is to spray each side with starch and iron it in, which I have done here. Cut off a piece about 2" long for the bow center. Form the long piece into a bow shape and cut and angle at each end. Hand sew through the center and wrap the thread a few times, secure with a stitch but don't cut that thread yet!

Making the bow
Position the bow on the headband and stitch in place. Don't cut that thread yet!

Fastening the bow to the headband. Almost done!
Fold the remaining center piece of the bow in half lengthwise, and wrap around center of the bow and headband so that the seam is hidden on the inside, trim off the excess. Secure in place with a few stitches. Now you can cut the thread!
Sewing the center of the bow closed
If you like you can position the flower where it looks prettiest on the headband and secure with a stitch or two. Now you're finished!

Et voila!
So, there are a million fun variations to try here - two tulips or more tulips, thicker headbands, thicker bows, bigger tulips, smaller tulips, brighter colors. Hand embroidering initials or a name on the bow. Embroidering a ladybug! Adding a felt butterfly! Bows and flowers on both sides for a floral crown! Very sweet for a flower girl to wear I might add.
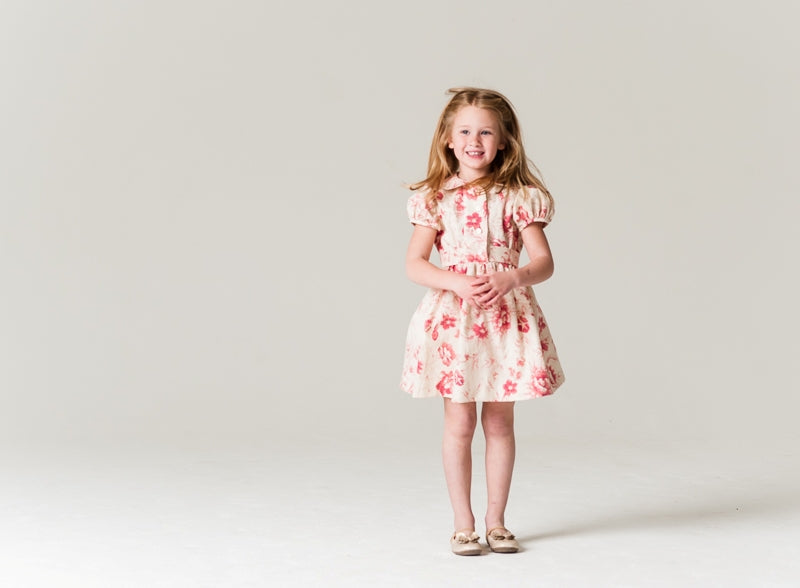
Little Goodall Spring Rose Dress
Thank you so much for reading, and if you make your own Sweet and Simple Tulip Headband, won't you share a photo with me? You can also download the pdf pattern here. -Molly